Mini Cheesecake Hearts Recipe
These Mini Cheesecake Hearts are everything you could wish for in a tiny dessert: luscious, creamy bites nestled atop a buttery graham cracker crust, each one swirled with a striking red-and-white heart that’s almost too pretty to eat. Perfect for love-filled occasions like Valentine’s Day, anniversaries, or any celebration where you want to wow your guests, the Mini Cheesecake Hearts recipe brings big flavor in a petite, irresistible package. You’ll be amazed at how the colors and silky texture come together in every mouthful — and be warned, these are the kind of treats that disappear quickly!
Ingredients You’ll Need
Let’s keep it simple — every ingredient in Mini Cheesecake Hearts has a special role, and together they create magic! From that classic graham cracker crunch to the dreamy, creamy filling, you don’t need much, but you do want the best-quality you can find. Here’s what you’ll need to work dessert wonders:
- Graham cracker crumbs: The foundation of each mini heart, providing a sweet and sandy bite that perfectly complements the creamy filling.
- Butter (melted): Binds your crumbs together and adds that signature rich flavor to the crust — salted or unsalted both work well, just adjust if using salted.
- Cream cheese (softened): The superstar for ultra-smooth and creamy cheesecake — full-fat works best for flavor and texture.
- Sugar: Just enough to sweeten everything and enhance all those wonderful flavors without overpowering them.
- Eggs: These provide structure and that dreamy custard-like consistency, so your hearts set up perfectly.
- Vanilla extract: A little splash brings fragrant depth and classic cheesecake taste to every bite.
- Red gel food coloring: The pop of color that makes your Mini Cheesecake Hearts eye-catching and romantic — a little goes a long way!
How to Make Mini Cheesecake Hearts
Step 1: Prepare the Crust
Begin the adventure by preheating your oven to 350°F (175°C) — this is when your kitchen starts to smell cozy and exciting! Mix those golden graham cracker crumbs with your melted butter until every bit is coated, then press this mixture firmly into the bottom of your heart-shaped silicone molds or a mini muffin tin. You want a solid, even layer that forms the perfect base for creamy cheesecake to come. Tip: The back of a spoon or your fingers (don’t be shy!) work wonders here.
Step 2: Make the Cheesecake Filling
Time to whip up the creamy center! Beat the softened cream cheese with sugar until impossibly smooth and glossy — no lumps should sneak by. Once that’s ready, add eggs and vanilla extract, and blend again until just combined. You’ll see the batter turn delightfully silky, making you crave a taste (don’t worry, you’re almost there!).
Step 3: Create the Red & White Layers
Now for the fun part: divide your cheesecake mixture evenly into two bowls. Stir a few drops of red gel food coloring into one — go as bold or pastel as you like, but gel is best for vibrant color without watering down the batter. Now, dollop alternating spoonfuls of white and pink (or crimson!) cheesecake onto your crusts. Take a toothpick or skewer and gently swirl the two together for that gorgeous marbled effect — each heart should have its own unique little pattern!
Step 4: Bake & Chill
Pop your filled molds into the oven and bake for 20 minutes — you’re looking for centers that are just set but still have a little wobble. Let your masterpieces cool completely in the molds or tins before moving them to the fridge. The hardest part: chill for at least 2 hours, which allows everything to set into creamy Mini Cheesecake Hearts perfection. Patience pays off here!
How to Serve Mini Cheesecake Hearts
Garnishes
A single fresh raspberry or a touch of whipped cream on top instantly elevates each cheesecake heart from cute to stunning. If you’re feeling fancy, a sprinkle of powdered sugar or drizzling of melted chocolate can add that extra touch of romance. Even some edible gold leaf or confetti sprinkles turns these into showstoppers!
Side Dishes
Mini Cheesecake Hearts pair beautifully with a fresh berry salad, a tangy lemon sorbet, or even a crisp flute of champagne. They’re rich and luscious, so a light citrusy side or refreshing tea balances everything out and keeps the spotlight on your cheesecakes.
Creative Ways to Present
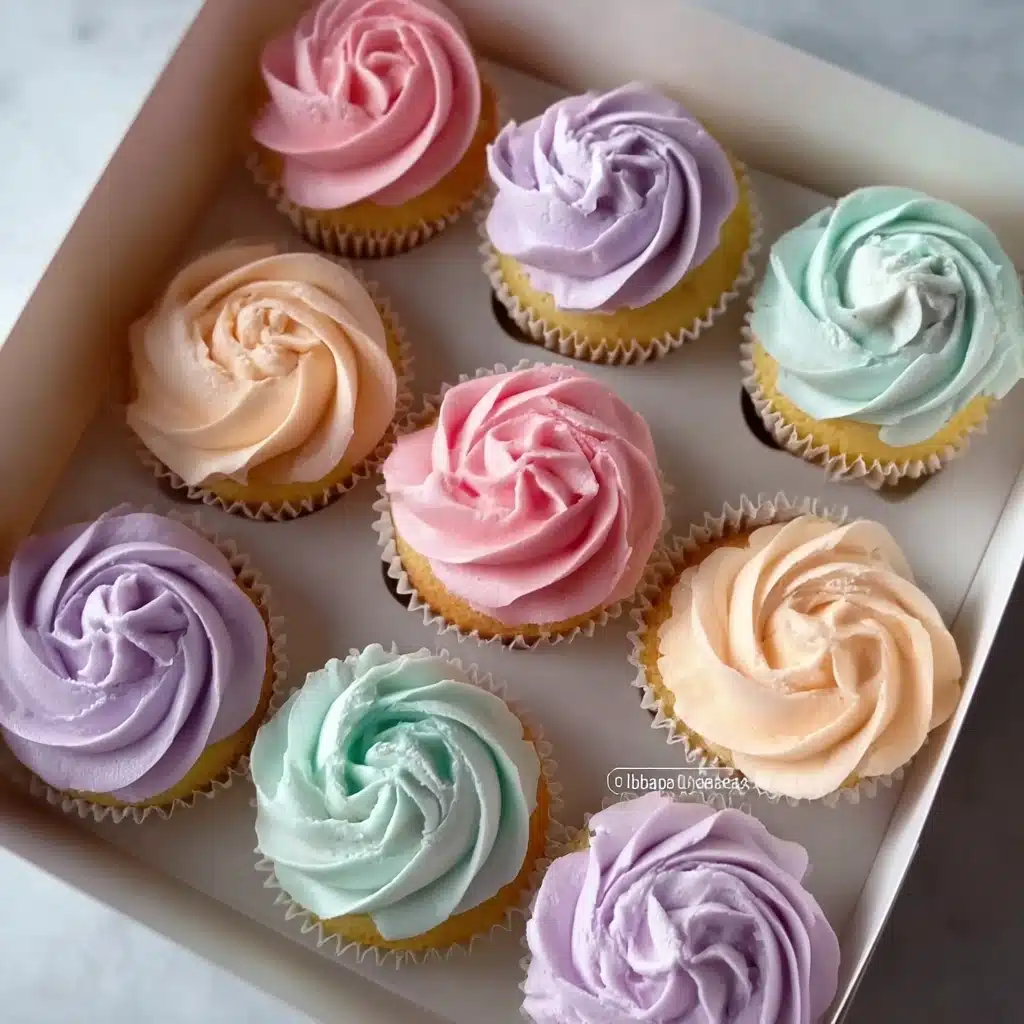
Arrange your Mini Cheesecake Hearts on a vintage cake stand, tuck them into pretty cupcake liners, or serve on a platter scattered with rose petals for full romantic vibes. For parties, try placing them in individual clear treat boxes with a ribbon for an adorable edible gift!
Make Ahead and Storage
Storing Leftovers
If you’re lucky enough to have leftovers, store your Mini Cheesecake Hearts in an airtight container in the fridge. They’ll keep fresh, creamy, and flavorful for up to 5 days — just make sure to keep them covered to avoid any fridge odors sneaking in.
Freezing
Yes, you can absolutely freeze these little beauties! Place the fully chilled cheesecakes (out of their molds) on a baking sheet and freeze until firm. Then wrap each heart tightly in plastic wrap, pop them into a zip-top bag, and freeze for up to two months. To serve, thaw in the fridge overnight.
Reheating
No need to reheat these treats, but if you’d like to bring them to room temperature for an even silkier bite, let them sit out of the fridge for about 15 to 20 minutes before serving. Just don’t microwave, as heat can make the texture grainy.
FAQs
Can I use a different color instead of red for the swirl?
Absolutely! Any gel food coloring will work. Try pastel pink, vibrant purple, or even two-toned swirls for a custom look that fits your celebration. The marbled effect really pops no matter which shade you choose.
Do I need a heart-shaped mold to make Mini Cheesecake Hearts?
While the heart shapes are undeniably cute, you can use a mini muffin tin or any small silicone mold. The flavor and fun remain — just call them “mini cheesecakes” if you skip the hearts!
Can I make these ahead for a party?
Yes, these are party-perfect make-ahead desserts! Prepare the day before, chill overnight, and garnish just before serving. Your guests will love how fresh and creamy they taste.
What’s the best way to prevent cracks in my mini cheesecakes?
Since these are bite-sized, cracks are much less likely, but avoid overbaking, and don’t open the oven frequently. Letting them cool gradually in the turned-off oven with the door ajar can help for the smoothest tops.
Are Mini Cheesecake Hearts gluten free?
With a simple swap to gluten-free graham crackers, you can make the entire recipe gluten-free without sacrificing taste or texture. Just double-check the labels of your other ingredients to be safe.
Final Thoughts
You’re officially ready to create a memorable batch of Mini Cheesecake Hearts! Each one is a bite-sized celebration — creamy, colorful, and full of love. Whether for a big bash or a sweet night in, I hope you’ll make them soon and share all that joy with someone special.
PrintMini Cheesecake Hearts Recipe
These Mini Cheesecake Hearts are adorable, creamy, and perfect for Valentine’s Day, anniversaries, or special occasions! With a buttery graham cracker crust and a rich vanilla cheesecake filling, these mini treats feature a beautiful red and white swirl for a romantic touch. Easy to make and irresistibly delicious!
- Prep Time: 20 minutes
- Cook Time: 20 minutes
- Total Time: 2 hours 40 minutes
- Yield: 8 mini cheesecakes 1x
- Category: Desserts
- Method: Baking
- Cuisine: American
- Diet: Vegetarian
Ingredients
For the Crust:
- 1 cup graham cracker crumbs
- 1/4 cup butter, melted
For the Cheesecake Filling:
- 16 oz cream cheese, softened
- 1/2 cup sugar
- 2 eggs
- 1 tsp vanilla extract
- Red gel food coloring
Instructions
- Prepare the Crust: Preheat oven to 350°F (175°C). In a bowl, mix graham cracker crumbs with melted butter. Press the mixture into heart-shaped silicone molds or mini muffin tins to form the crust.
- Make the Cheesecake Filling: In a large bowl, beat cream cheese and sugar until smooth. Add eggs and vanilla extract, mixing until fully combined.
- Create the Red & White Layers: Divide the cheesecake batter into two portions. Tint one portion red using gel food coloring, leaving the other plain. Spoon alternating layers of red and white cheesecake mixtures into each mold. Use a toothpick or skewer to swirl for a marbled effect.
- Bake & Chill: Bake for 20 minutes, or until the centers are just set. Let cool completely, then chill in the fridge for at least 2 hours before serving.
Nutrition
- Serving Size: 1 mini cheesecake
- Calories: 280
- Sugar: 14g
- Sodium: 240mg
- Fat: 20g
- Saturated Fat: 11g
- Unsaturated Fat: 7g
- Trans Fat: 0g
- Carbohydrates: 20g
- Fiber: 0g
- Protein: 5g
- Cholesterol: 105mg
Keywords: Mini Cheesecake Hearts, Mini Cheesecakes, Cheesecake Hearts, Valentine’s Day dessert, romantic dessert

