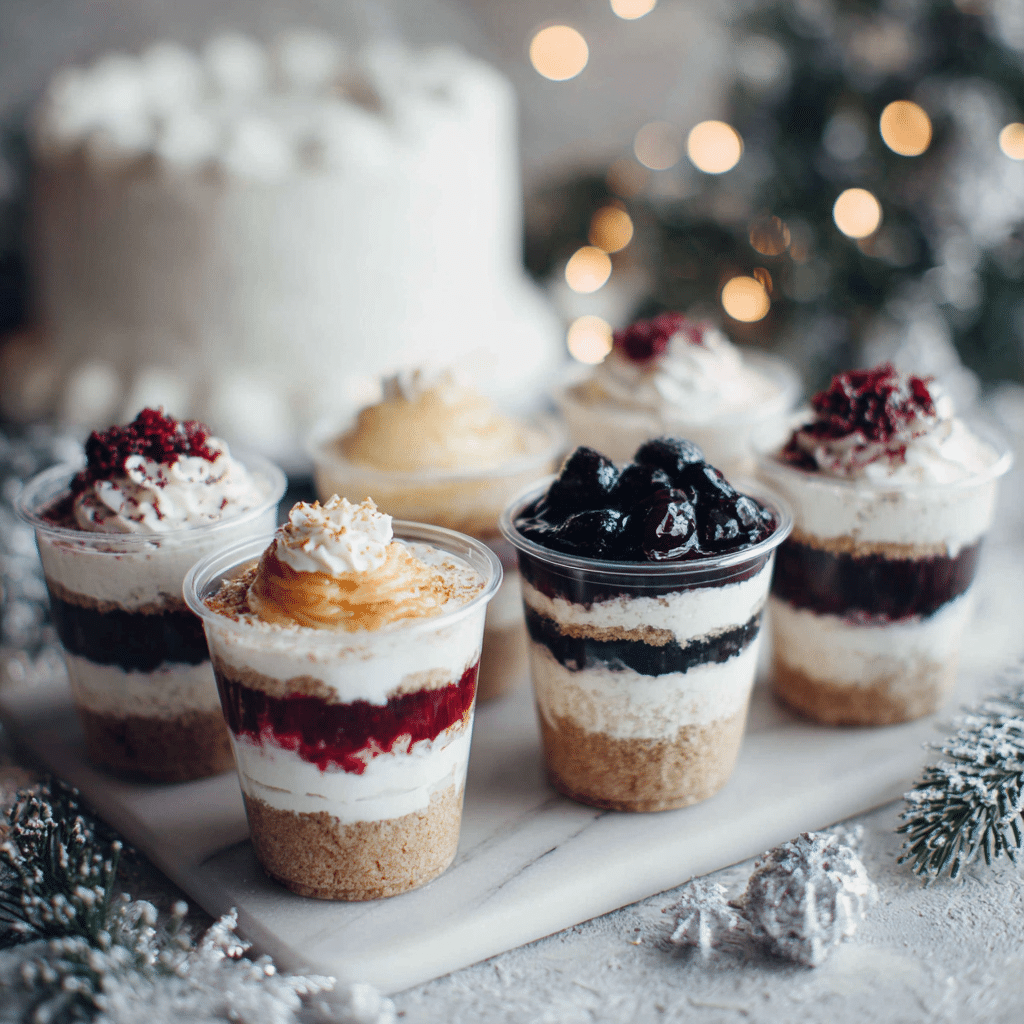
Layered DIY Cake Cups Recipe
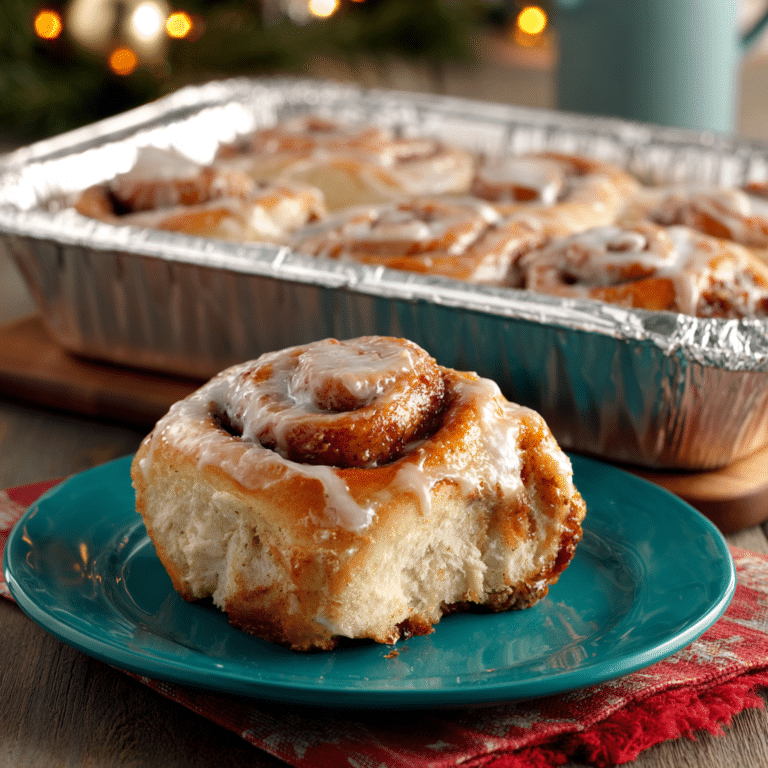
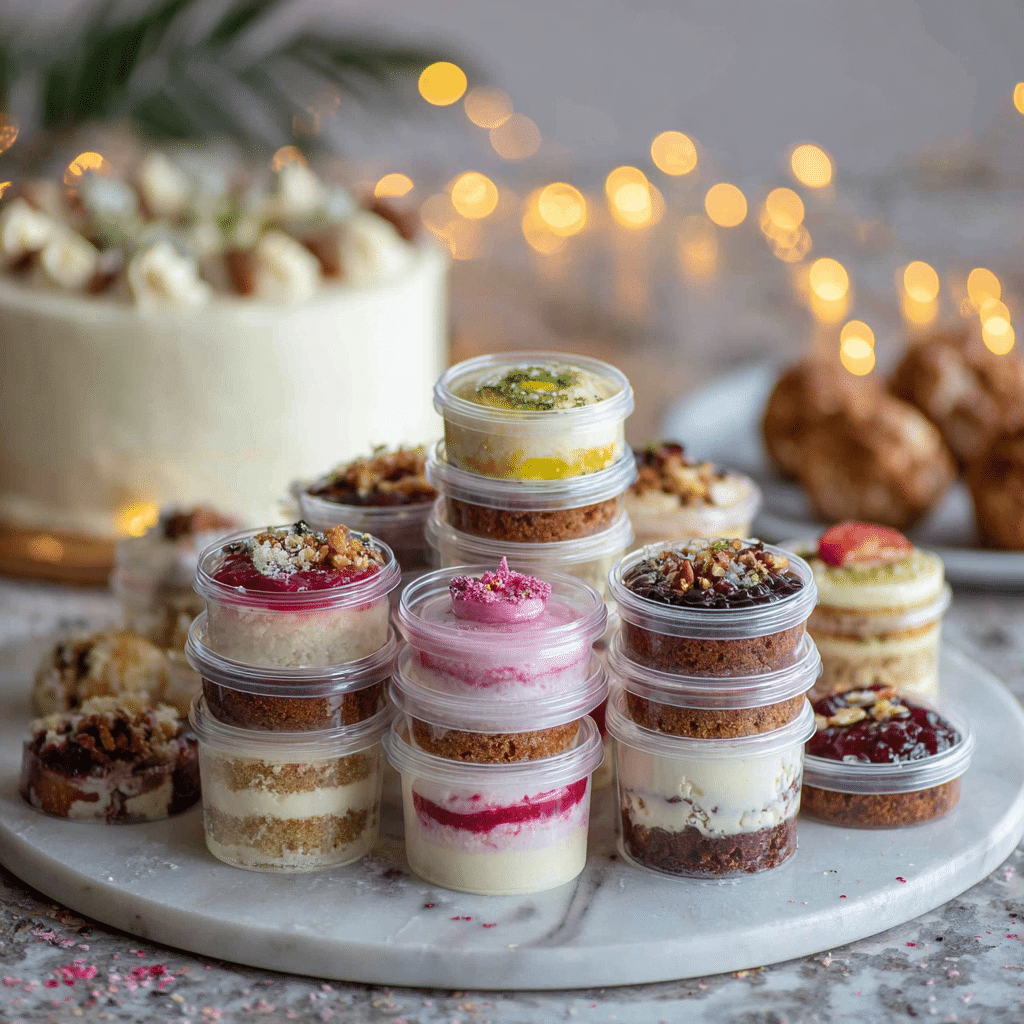
Looking for a dessert that’s guaranteed to wow a crowd and keep things fuss-free? Meet your new best friend: Layered DIY Cake Cups. These charming little cups stack soft cake, luscious frosting, and a ribbon of fruity filling into individual portions perfect for parties, birthdays, picnics, or any time you want to serve something sweet without breaking a sweat. Not only do they look adorable peeking through their clear cups, but they also invite endless flavor combinations and topping fun. Whether you bake your own cake or use a store-bought shortcut, these sweet treats deliver big on taste and presentation—no plates or forks required!
Ingredients You’ll Need
The beauty of Layered DIY Cake Cups is in how adaptable and simple the ingredients are. Each component brings something special—tender cake for body, creamy frosting for richness, and bright fillings for bursts of flavor and color.
- 1 baked 9×13-inch cake (any flavor): This forms the foundation; use homemade or store-bought, and your favorite flavor sets the tone.
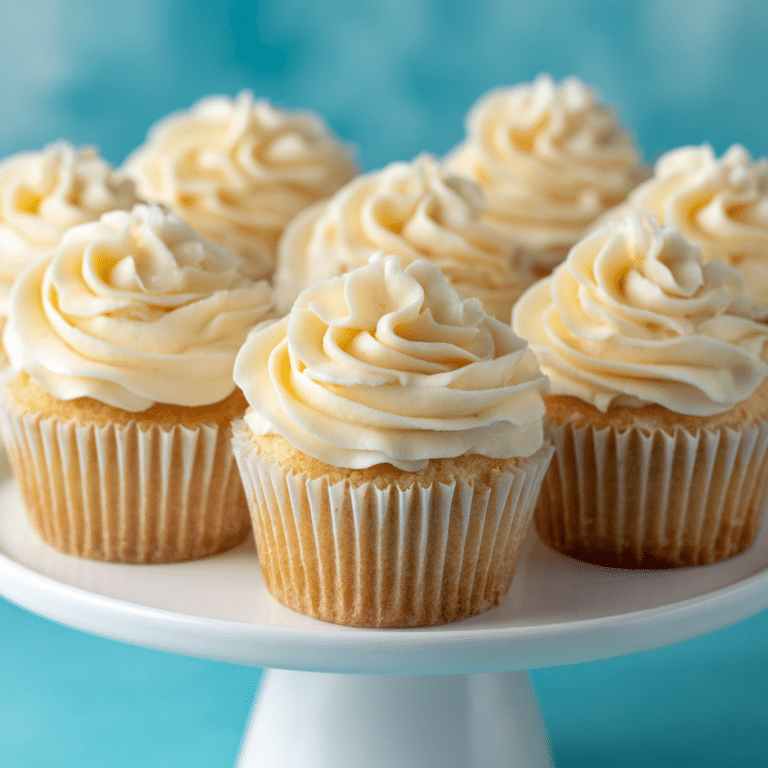
- 2 cups buttercream frosting: Fluffy, sweet, and creamy, it’s the glue and the highlight between all the layers.
- 1 cup fruit jam or filling: Adds tang, moisture, and beautiful color; try strawberry, raspberry, or zesty lemon curd.
- Optional chocolate ganache, sprinkles, cookie crumbs, or crushed candies: For a final flourish, these toppings add crunch and festive vibes.
- 10–12 small clear plastic cups with lids: Transparent cups showcase those luscious layers and make them perfectly portable.
- Small plastic spoons for serving: Don’t forget these! They make scooping up every bite a breeze.
How to Make Layered DIY Cake Cups
Step 1: Crumble the Cake
Start by letting your cake cool completely if it’s freshly baked. Use clean hands or a fork to gently break it into large, moist chunks—think bite-sized pieces, not fine crumbs. The rustic texture gives your Layered DIY Cake Cups fun character and catches all the lovely fillings in every scoop.
Step 2: Layer the Cake, Frosting, and Filling
Grab your clear cups and get ready to build! Begin with a generous spoonful of cake to form the base layer. Next, pipe or dollop a swirl of buttercream over the cake. Then, add a layer of jam or your chosen filling, letting it peek through on the sides. The layers should be visible, so enjoy making each one distinct!
Step 3: Repeat the Layers
Continue layering: cake, frosting, jam—once or twice more depending on your cup’s size—until you’ve almost reached the top. The key is to finish on a beautiful swirl of buttercream so each cup looks like a mini showpiece.
Step 4: Add Toppings
Now comes the fun part! Sprinkle on chocolate chips, cookie crumbs, rainbow sprinkles, or drizzle a bit of ganache over the final frosting cap. Each topping adds flair—and a hint at the flavors inside.
Step 5: Chill and Serve
Snap a lid onto each cup to keep them fresh and pop them into the fridge until serving time. They’re perfect chilled but become extra soft and dreamy at room temperature. Arrange with mini spoons for effortless, grab-and-go enjoyment.
How to Serve Layered DIY Cake Cups
Garnishes
Finish your Layered DIY Cake Cups with a flourish! Try a dusting of powdered sugar, a fresh berry, a little edible glitter, or even a dollop of whipped cream. The garnish not only adds beauty but hints at what’s inside each cup.
Side Dishes
While these cake cups make a statement on their own, you could pair them with bowls of fresh fruit, scoops of vanilla ice cream, or a platter of crunchy biscotti. If you’re creating a dessert spread, they play nicely with cookies, macarons, or other small sweets for a stunning buffet.
Creative Ways to Present
Show off your Layered DIY Cake Cups on a tiered cake stand or nestle them in colorful baskets lined with tissue paper for a party vibe. For a personalized touch, decorate the cups with pretty washi tape or custom stickers. They’re also perfect favors—just tie on a ribbon and attach a thank-you tag!
Make Ahead and Storage
Storing Leftovers
Store any leftover Layered DIY Cake Cups in the refrigerator, secured tightly with lids. They’ll stay moist and fresh for up to three days, making them fantastic for prepping ahead for events or snacking over several days.
Freezing
If you’re making a large batch or prepping in advance, you can freeze the assembled cake cups (without delicate garnishes). Wrap each one snugly in plastic wrap and freeze for up to a month. Defrost overnight in the fridge for the best texture.
Reheating
These are best enjoyed chilled or at room temperature, but if you prefer a softer texture, simply let them sit out for 20-30 minutes before serving. Avoid microwaving, as the frosting may melt and lose its shape.
FAQs
Can I use different cakes and fillings in my Layered DIY Cake Cups?
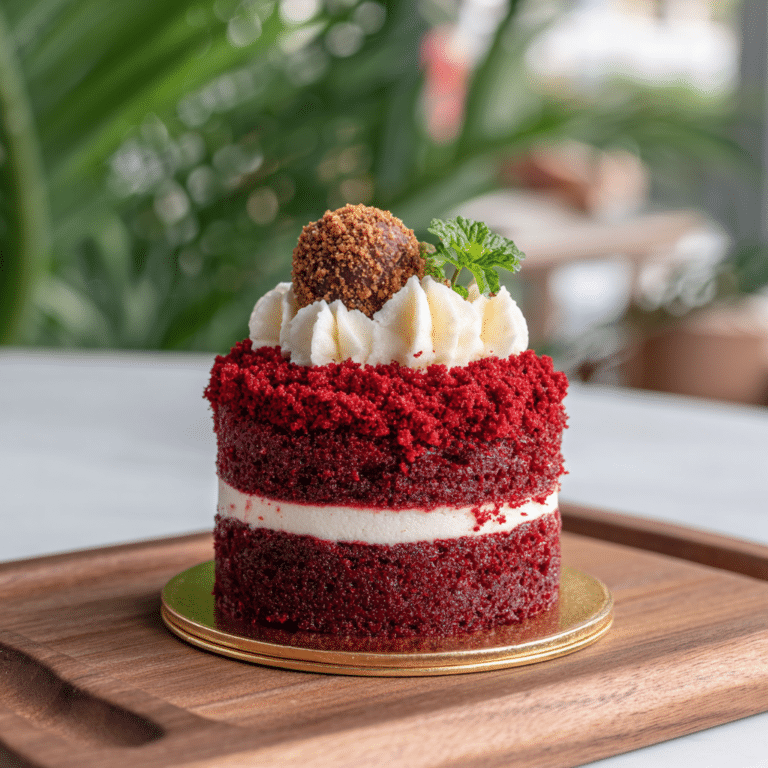
Absolutely! This recipe is incredibly flexible. Try chocolate cake with cherry filling, lemon cake with blueberry jam, or even red velvet with cream cheese frosting. Have fun experimenting with all your favorite combinations.
How far in advance can I assemble these cake cups?
You can layer and store these up to two days ahead! Just keep them well wrapped in the fridge, and hold off on delicate garnishes until right before serving to keep everything looking its best.
Are these Layered DIY Cake Cups kid-friendly?
Yes—they’re perfect for kids! Easy to hold, less messy than cake slices, and each cup can be customized with their favorite flavors or toppings. Kids also love helping to assemble and decorate.
Can I make this recipe gluten-free or dairy-free?
Definitely. Use your favorite gluten-free cake mix, non-dairy frosting, and check that your fillings and toppers are allergen friendly. The concept works beautifully with almost any dietary modifications.
What’s the best way to transport Layered DIY Cake Cups?
Make sure the lids are secure, then place the cups in a sturdy box or carrier so they don’t tip over. Bringing them chilled helps them travel safely and arrive in perfect, party-ready condition.
Final Thoughts
If you love fun, fuss-free desserts with endless flavor possibilities, you just have to try making Layered DIY Cake Cups. They’ll add cheer to any table and are guaranteed to disappear quickly! Whether you’re celebrating something special or just want to treat yourself, these cake cups are always a sweet success.
PrintLayered DIY Cake Cups Recipe
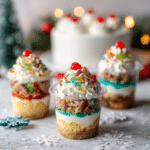
Perfect for parties and holidays, these DIY layered cake cups are individually portioned desserts made from moist cake, creamy frosting, and flavorful fillings—all served in clear plastic cups for a fun, mess-free treat.
- Prep Time: 20 minutes
- Cook Time: 0 minutes (if cake is pre-baked)
- Total Time: 20 minutes
- Yield: 10–12 cake cups 1x
- Category: Dessert
- Method: Layering
- Cuisine: Any
- Diet: Vegetarian
Ingredients
Cake:
- 1 baked 9×13-inch cake (any flavor: vanilla, chocolate, red velvet, etc.)
Frosting:
- 2 cups buttercream frosting (store-bought or homemade)
Fruit Filling:
- 1 cup fruit jam or filling (strawberry, raspberry, lemon curd, etc.)
Optional Toppings:
- Optional: chocolate ganache, sprinkles, cookie crumbs, or crushed candies
Serving:
- 10–12 small clear plastic cups with lids
- Small plastic spoons for serving
Instructions
- Crumble the Cake: Crumble the baked and cooled cake into large chunks.
- Layering: In each cup, layer a spoonful of cake, then a swirl of frosting, followed by a bit of jam or filling.
- Repeat Layers: Repeat the layers once or twice until the cup is full, ending with a swirl of frosting.
- Optional Toppings: Top with optional sprinkles, cookie crumbs, or drizzle of ganache.
- Chill: Cover each cup with a lid and refrigerate until ready to serve.
- Serve: Serve chilled or at room temperature with mini plastic spoons.
Nutrition
- Serving Size: 1 cake cup
- Calories: 320 kcal
Keywords: #cakerecipe #layereddessert #cakecups #partydesserts #holidaytreats #diydesserts #bakingideas #frostinglove #funwithcake #easydesserts #indulgent #individuallyportioned #kidfriendly #bakersofinstagram #celebrationcakes #portablecake #sweettooth #makeahead #customflavors #cakestack