Classic Ice Cream Cake Recipe
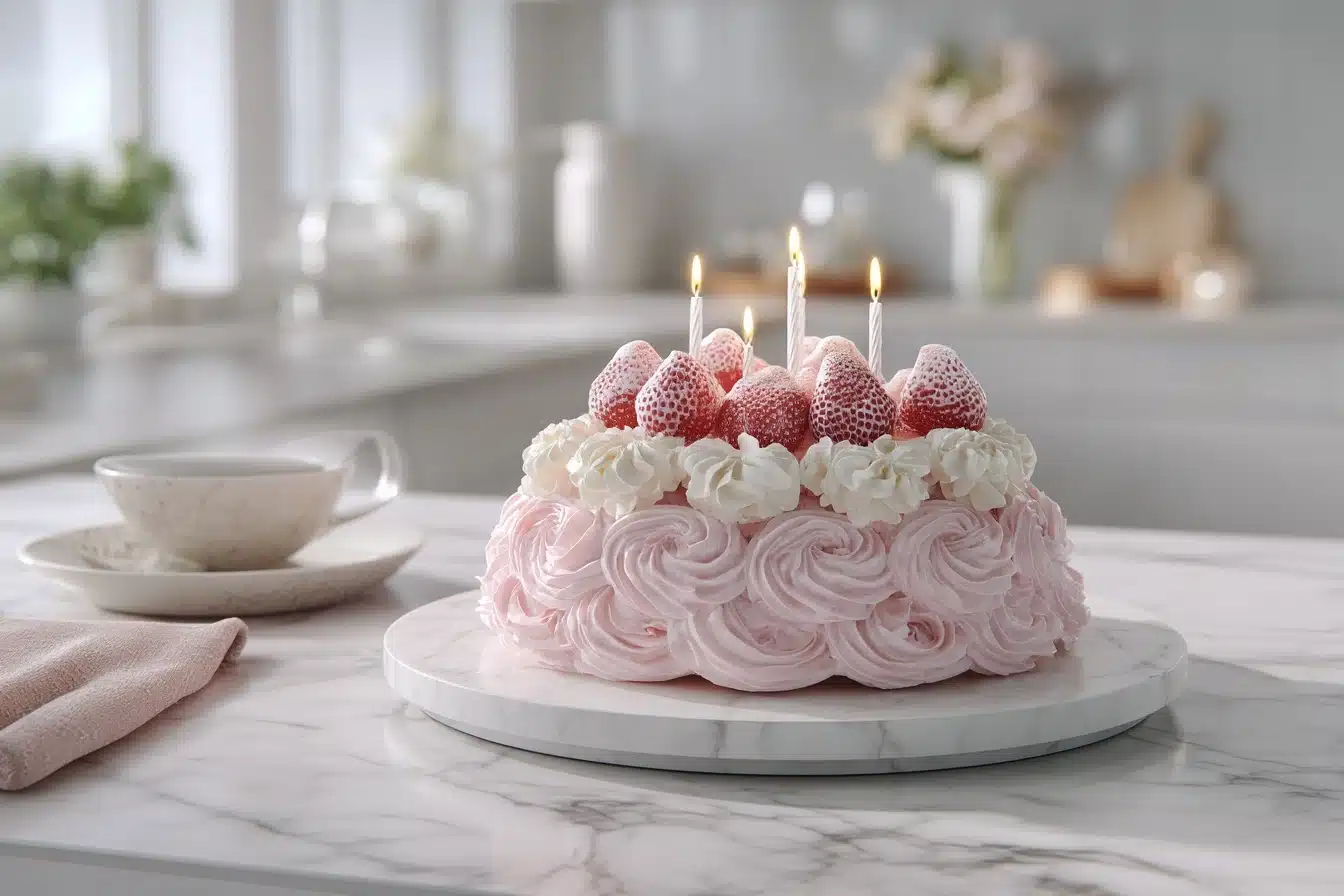
There’s something magically nostalgic about slicing into a Classic Ice Cream Cake—the kind that inspires wide-eyed delight at every celebration. Imagine creamy layers of chocolate and cookies & cream ice cream joined by a fudgy, crunchy cookie core, all smothered in clouds of whipped cream frosting. This show-stopping treat combines your favorite frozen flavors with a texture adventure, giving both kids and adults that “I can’t believe it’s homemade!” moment.
Ingredients You’ll Need
The beauty of a Classic Ice Cream Cake lies in its simplicity—each ingredient is purposeful, building layers of creaminess, crunch, and pure happiness. Let’s walk through what you’ll need and why it matters:
- Chocolate ice cream (1.5 quarts): The deep, creamy chocolate foundation that pairs perfectly with the other flavors.
- Cookies & cream ice cream (1.5 quarts): Chunks of cookie folded through vanilla ice cream create a flavor combo no one can resist.
- Chocolate sandwich cookies (20, like Oreos), crushed: This layer brings the crave-worthy crunch and chocolatey contrast between the creamy strata.
- Melted butter (3 tbsp): Holds those cookie crumbs together for a fudgy, toasty bite.
- Chocolate fudge sauce (1/4 cup): Adds a gooey, rich note to the crumb layer—the secret to a melt-in-your-mouth center.
- Heavy whipping cream (2 cups): Whips up into that pillowy frosting and softens the intense chocolate with cool, airy sweetness.
- Powdered sugar (1/4 cup): Gently sweetens the whipped cream for a smooth, classic finish.
- Vanilla extract (1 tsp): Rounds out the whip with a nostalgic hint of vanilla, making the whole cake taste extra homemade.
How to Make Classic Ice Cream Cake
Step 1: Soften Your Ice Cream
Before you dive in, let both ice cream flavors hang out on the counter for about 10 minutes. This little bit of patience is worth it, letting the ice cream become spreadable but not soupy. The softened texture makes layering a breeze and ensures a smooth, picture-perfect cake.
Step 2: Prepare the Pan and First Layer
Line a 9-inch springform pan with plastic wrap or parchment paper—this will save you a headache when it’s time to unmold the final masterpiece. Spread the softened cookies & cream ice cream evenly across the bottom, ensuring it’s pressed into every edge. Pop it into the freezer for 20 minutes to firm up.
Step 3: Build the Fudgy Cookie Crumble Core
While the base sets, mix your crushed chocolate sandwich cookies with melted butter and chocolate fudge sauce until every crumb is deliciously coated. Sprinkle this mixture evenly over the chilled cookies & cream layer, then press gently with the back of a spoon or your fingertips. The result? A core that instantly transports everyone back to childhood. Refreeze for 15 minutes.
Step 4: Add the Chocolate Ice Cream Layer
Now for the decadent finale! Scoop out your chocolate ice cream, spread it carefully over the set cookie crumble, and smooth the top with a spatula. Don’t worry if you leave a little swirl—homemade charm is always welcome. Freeze the whole cake for at least 4 hours, or overnight for best results, until it’s completely firm and ready for its finishing touches.
Step 5: Whip Up the Frosting
In a chilled bowl, beat the heavy cream, powdered sugar, and vanilla extract until stiff peaks form. This whipped cream is light, sweet, and just begging to be swooped over the cake. Pro tip: a hand mixer or stand mixer makes this job blissfully easy.
Step 6: Frost and Decorate
Remove your cake from the pan—peel off the lining so it stands tall and proud. Frost every surface with the whipped cream, swirling it into soft peaks for that bakery-style look. Feeling creative? Add sprinkles, a chocolate ganache drizzle, or a scatter of extra cookie crumbs. Pop the finished cake back into the freezer for 30 minutes so everything sets up just right before slicing.
How to Serve Classic Ice Cream Cake
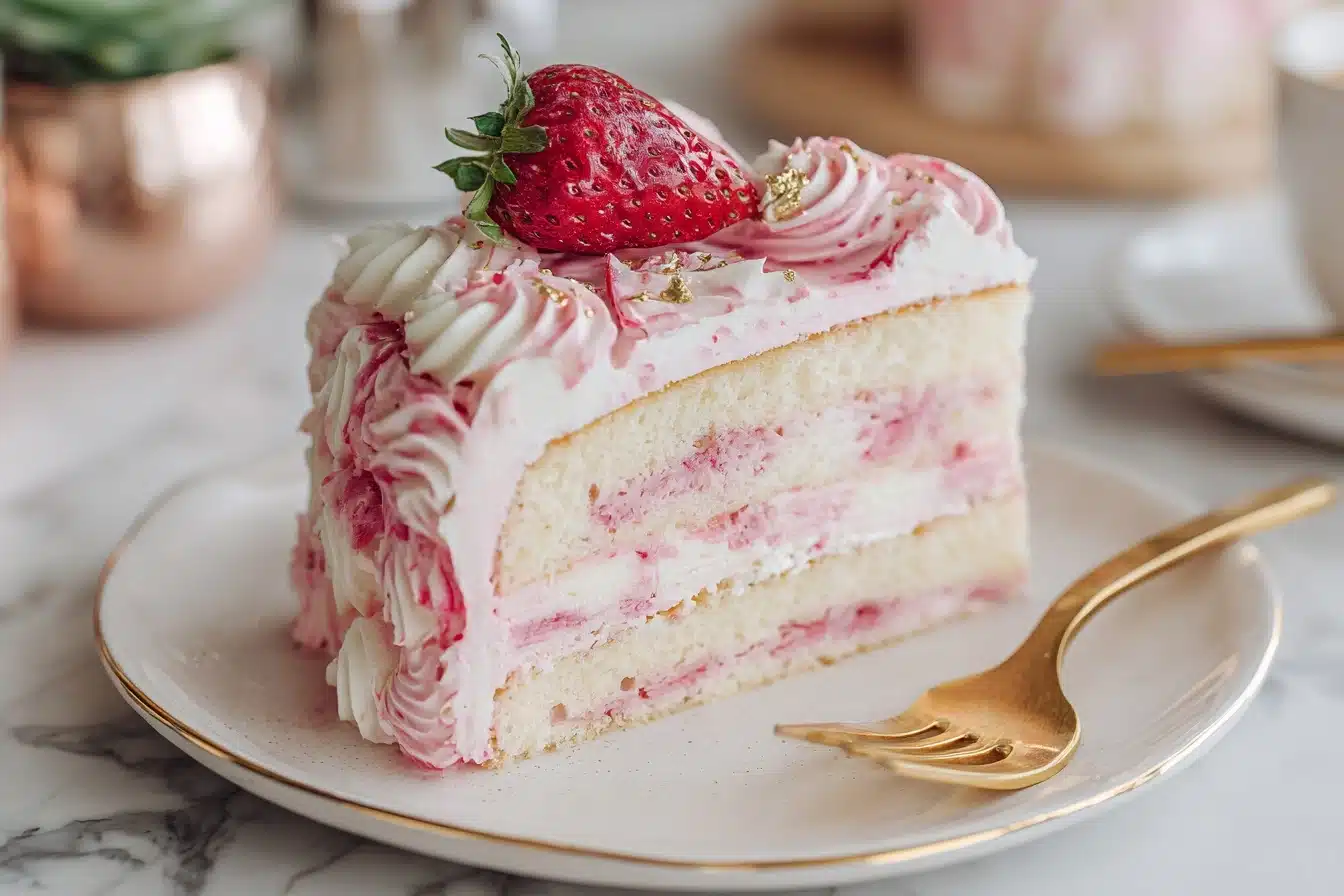
Garnishes
The finale calls for a little glam! Dust the top with a handful of crushed sandwich cookies, chocolate sprinkles, rainbow jimmies, or a ribbon of chocolate fudge sauce. For ultimate celebration vibes, edible glitter or a few mini chocolate chips will have everyone reaching for their phone—but only after they’ve grabbed a slice.
Side Dishes
Let your Classic Ice Cream Cake take center stage and pair it with simple, refreshing sides. Think fresh summer berries, a bowl of juicy cherries, or slices of ripe banana. Not only do they balance the richness, they brighten up the dessert table, turning every slice into a mini sundae moment.
Creative Ways to Present
For parties, freeze individual mini cakes in mason jars or silicone muffin molds. Or, turn the cake into ice cream sandwiches: slice thick pieces and squish between oversized cookies. If you love a dramatic dessert, drizzle plates with fudge and serve each slice with a sparkler for a spectacular birthday reveal.
Make Ahead and Storage
Storing Leftovers
Wrap any leftover Classic Ice Cream Cake slices tightly in plastic wrap or place them in an airtight container to prevent freezer burn and unwanted fridge flavors. Stored well, the cake will keep its magical texture and flavor for up to a week—although, let’s be honest, it rarely lasts that long!
Freezing
This cake is a freezer dream. For best results, keep the cake covered to protect the whipped frosting and avoid ice crystals. If you made the cake in advance, it’ll happily hang out in the freezer for up to two weeks—perfect for last-minute celebrations or midnight cravings.
Reheating
No ovens needed for this treat! To slice through the layers easily, let the Classic Ice Cream Cake sit at room temperature for 5 to 10 minutes before serving. This quick softening is all you need to enjoy each creamy bite—never microwave or heat, as it will melt the flavors into a puddle.
FAQs
Can I use other ice cream flavors in my Classic Ice Cream Cake?
Absolutely! Feel free to swap in your favorites—think mint chip, strawberry, or caramel. Mixing flavors lets you create a cake that’s as unique as your occasion.
How do I get clean, even slices from the cake?
Run a large, sharp knife under hot water, wipe it dry, and slice the cake in smooth motions. Wiping the knife clean between cuts keeps every slice looking sharp and photo-ready!
Is it possible to make Classic Ice Cream Cake dairy-free?
Yes, simply use non-dairy ice creams and swap heavy cream for coconut cream or a favorite vegan whipped topping. The results are just as dreamy, making it perfect for everyone at the table.
Can I make this cake in advance for a party?
Definitely! In fact, Classic Ice Cream Cake is the ultimate make-ahead dessert—just layer, freeze, and frost the day before. You’ll have an effortless showstopper with zero last-minute stress.
What if I don’t have a springform pan?
No problem. You can use a deep cake pan lined well with plastic wrap, leaving plenty over the sides so you can lift the cake out easily once it’s firm.
Final Thoughts
If you’re looking for a sweet walk down memory lane or planning an unforgettable birthday treat, give this Classic Ice Cream Cake a try. It’s simple, joyful, and promises grins at any gathering—trust me, the first slice will have everyone asking for the recipe. Happy scooping and celebrating!
PrintClassic Ice Cream Cake Recipe
Indulge in nostalgia with this classic ice cream cake recipe featuring layers of creamy chocolate and cookies & cream ice cream with a fudgy cookie crumble core, all enveloped in a fluffy whipped cream frosting.
- Prep Time: 25 minutes
- Total Time: 4 hours 25 minutes
- Yield: 12 slices 1x
- Category: Dessert
- Method: Freezing, Churning
- Cuisine: American
- Diet: Vegetarian
Ingredients
Ice Cream Layers:
- 1.5 quarts chocolate ice cream
- 1.5 quarts cookies & cream ice cream
Cookie Crumble Layer:
- 20 chocolate sandwich cookies (like Oreos), crushed
- 3 tbsp melted butter
- 1/4 cup chocolate fudge sauce
Whipped Frosting:
- 2 cups heavy whipping cream
- 1/4 cup powdered sugar
- 1 tsp vanilla extract
Instructions
- Soften Ice Cream: Let both flavors of ice cream soften at room temperature for about 10 minutes.
- Layering: Line a 9-inch springform pan with plastic wrap or parchment paper. Spread softened cookies & cream ice cream evenly on the bottom. Freeze for 20 minutes.
- Cookie Crumble: Mix crushed cookies with melted butter and chocolate fudge until crumbly. Spread evenly over the first layer and press gently. Freeze for another 15 minutes.
- Chocolate Layer: Spread the chocolate ice cream over the cookie layer and smooth the top. Freeze for at least 4 hours, or overnight, until firm.
- Whipped Frosting: Whip cream, powdered sugar, and vanilla until stiff peaks form. Remove cake from the pan and peel off the lining. Frost entire cake with whipped cream.
- Final Touches: Optional: decorate with sprinkles, ganache drizzle, or extra crushed cookies. Freeze for 30 minutes to firm up frosting before serving.
Notes
- For a neat slice, dip a sharp knife in hot water before cutting the cake.
- Experiment with different ice cream flavors and toppings for a personalized touch.
Nutrition
- Serving Size: 1 slice
- Calories: 390 kcal
- Sugar: 26g
- Sodium: 230mg
- Fat: 28g
- Saturated Fat: 16g
- Unsaturated Fat: 9g
- Trans Fat: 0g
- Carbohydrates: 33g
- Fiber: 1g
- Protein: 4g
- Cholesterol: 85mg
Keywords: #icecreamcake #frozendessert #cookiesandcream #chocolateicecream #homemadecake #birthdaydessert #cooltreat #whippedcreamfrosting #nocakebake #oreoicecream #icecreamlover #layeredcake #desserttable #easyfreezercake #familydessert #summertreats #freezerfriendly #nostalgicdessert #fudgycenter #creamyindulgence

