Cherry Balsamic Glazed Chicken Recipe
If you’re looking to turn a simple chicken dinner into a spectacular, restaurant-worthy meal, Cherry Balsamic Glazed Chicken should be at the very top of your list. This dish is a dazzling symphony of sweet, tangy, and savory flavors, paired beautifully with the natural richness of seared chicken breasts. The glossy cherry-balsamic glaze doesn’t just look gorgeous on the plate—it soaks each bite with juicy elegance, making it an absolute favorite whether you’re celebrating or just craving something extraordinary on a weekday.
Ingredients You’ll Need
Part of the magic behind Cherry Balsamic Glazed Chicken is how effortlessly it comes together with just a handful of kitchen staples and a few fresh, vibrant ingredients. Each component brings its own character—bold, bright, and absolutely essential—to the party on your plate.
- Chicken breasts: For juicy results, go with boneless, skinless breasts about 6 ounces each; patting them dry ensures perfect browning.
- Salt and pepper: Don’t skip seasoning—the right sprinkle ensures your chicken bursts with flavor all the way through.
- Olive oil: This helps the chicken get that irresistible golden crust when seared in the skillet.
- Pitted cherries: Fresh is fabulous, but frozen cherries work beautifully as well; just thaw and drain them first.
- Balsamic vinegar: Choose a good-quality balsamic for a balance of sharp tang and mellow sweetness in your glaze.
- Honey: Just a spoonful is all you need; it deepens the cherry flavor and brings a silky body to the sauce.
- Garlic: A minced clove adds a savory note that smartly anchors all the sweet and tart elements.
How to Make Cherry Balsamic Glazed Chicken
Step 1: Season and Sear the Chicken
Start by generously seasoning both sides of your chicken breasts with salt and freshly cracked black pepper. In a good, heavyweight skillet, heat the olive oil over medium-high. Once it’s shimmering, add the chicken and let it sizzle without touching it—that’s how you get that enticing golden-brown sear. Sear for about 6 to 7 minutes per side; you want the outside to be deliciously caramelized and the inside cooked just through. Transfer the cooked chicken to a plate to rest—it’s about to get a cherry-licious upgrade!
Step 2: Build the Glaze
In the same pan (keep those golden bits!), turn the heat down a notch and add the minced garlic. Stir it around just until fragrant, about 30 seconds—avoid letting it brown. Next up: stir in the pitted cherries, balsamic vinegar, and honey. The pan will hiss with excitement as those flavors start blending. Let the mixture simmer, stirring now and then, for about 5 minutes. The cherries soften and burst, the vinegar mellows, and the honey works its glaze-making magic.
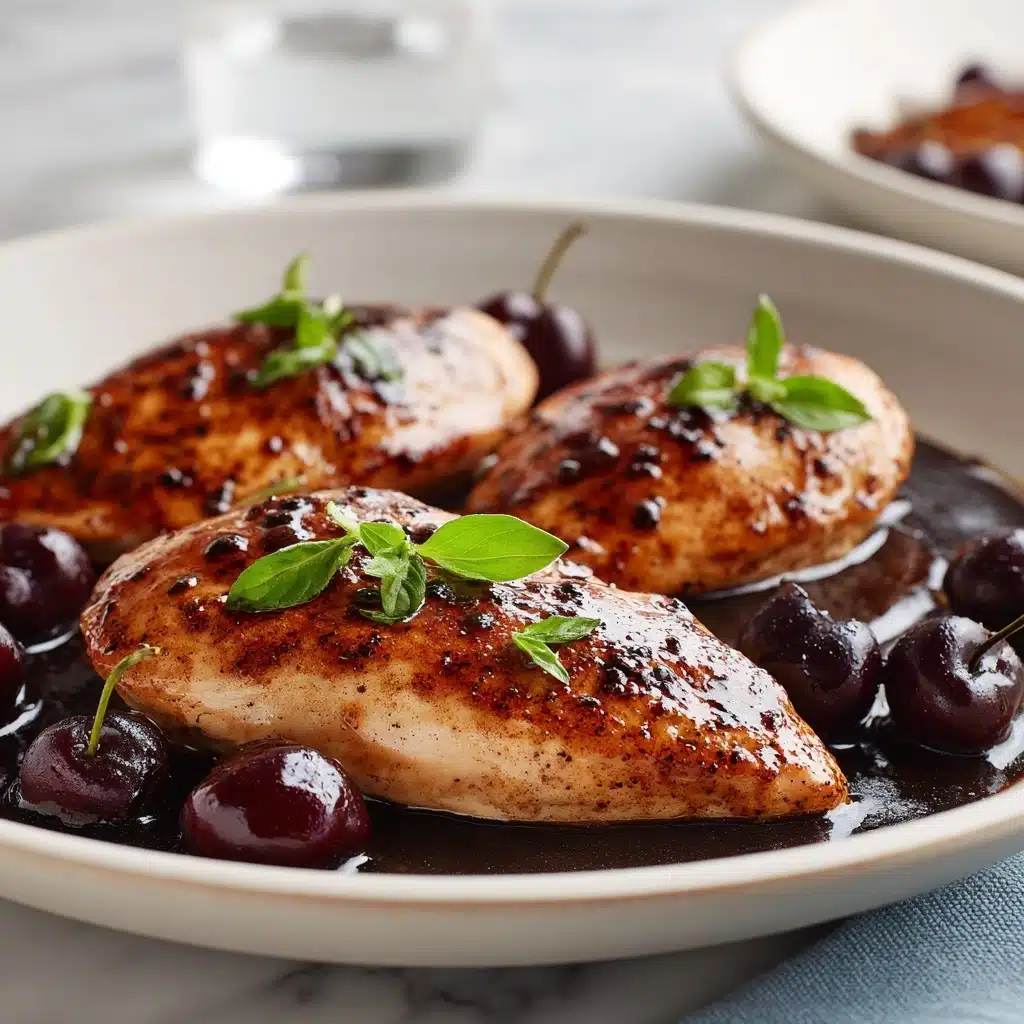
Step 3: Finish and Glaze the Chicken
Return the chicken breasts right into the bubbling sauce, nestling them among the cherries. Spoon the rich glaze over each piece, letting the chicken bathe and finish cooking in all those layered flavors. After another 2 to 3 minutes, the glaze should be slightly thick and clingy, gloriously coating each breast. Remove from the heat and get ready to plate—the dish is ready to impress!
How to Serve Cherry Balsamic Glazed Chicken
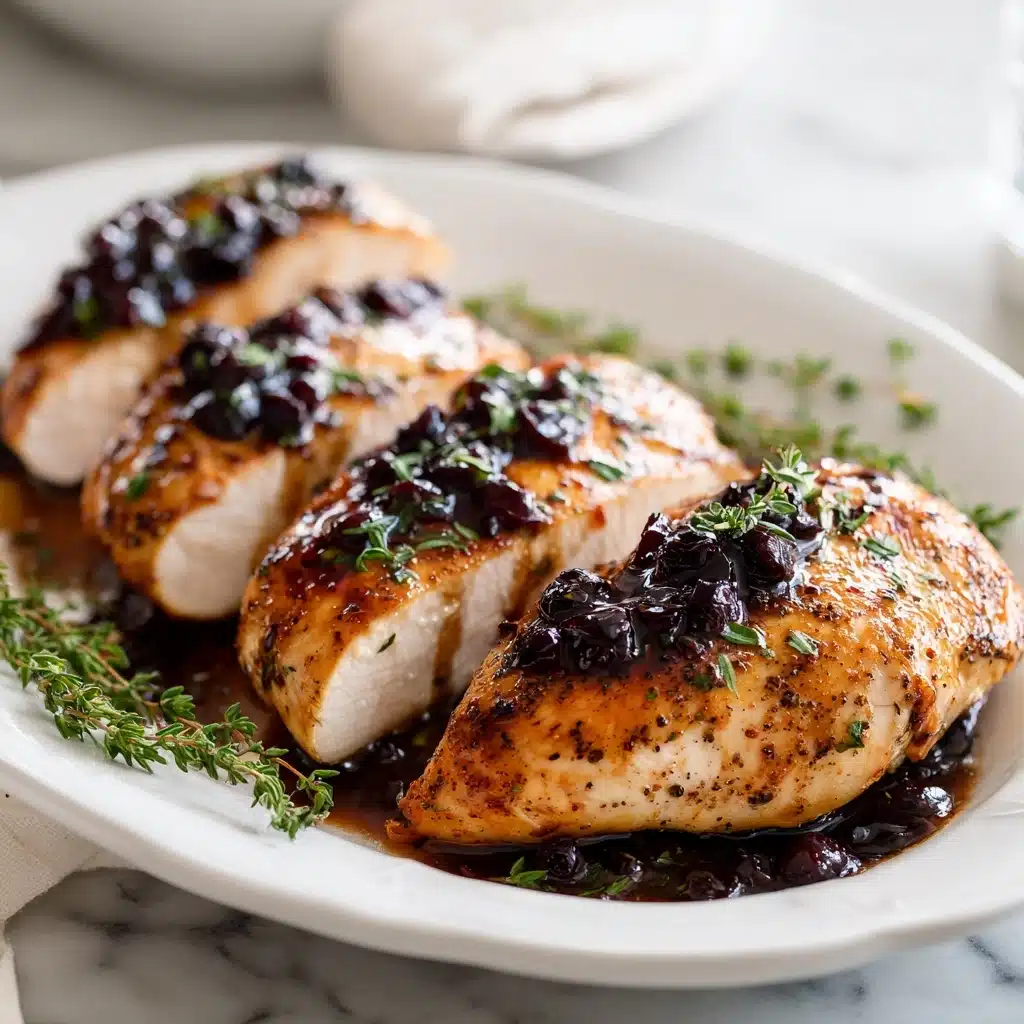
Garnishes
A final flourish is the best way to make Cherry Balsamic Glazed Chicken feel extra special. Try a scattering of fresh basil or thyme leaves, a grind of black pepper, or even a sprinkle of flaked sea salt. A handful of halved fresh cherries on the plate doesn’t just look lovely; they echo the flavors of the glaze.
Side Dishes
This dish craves simple, elegant sides. Creamy mashed potatoes or a pillowy mound of polenta soak up every drop of that spectacular cherry balsamic glaze. For a lighter touch, add steamed green beans or a vibrant arugula salad dressed with lemon vinaigrette—the freshness highlights the richness of the main event.
Creative Ways to Present
If you want to show off, slice the chicken on the diagonal and fan it out on a plate. Drizzle extra cherry balsamic glaze over the top and scatter with microgreens for a modern, chef-y look. You can also serve the whole chicken breast on a dramatic white platter, the deep, ruby sauce cascading over the edges—a surefire wow factor at any dinner party.
Make Ahead and Storage
Storing Leftovers
Leftover Cherry Balsamic Glazed Chicken will easily keep its great taste if stored properly. Place the cooled chicken and any remaining glaze in an airtight container and refrigerate for up to 3 days. Be sure to spoon some of the glaze over the chicken to keep it moist and flavorful.
Freezing
You can freeze Cherry Balsamic Glazed Chicken for future meals. Allow the chicken and sauce to cool completely, then place them in a freezer-safe container or zip-top bag, removing as much air as possible. Freeze for up to 2 months, and defrost overnight in the refrigerator for best results.
Reheating
For best flavor and texture, reheat gently. Place the chicken and glaze in a covered skillet over medium-low heat with a splash of water or chicken broth. Warm just until the chicken is heated through—this method keeps the meat juicy and the glaze silky.
FAQs
Can I use frozen cherries instead of fresh?
Absolutely! Frozen, pitted cherries are a fantastic shortcut and work just as well as fresh. Just let them thaw and drain any excess liquid before adding them to the pan for your Cherry Balsamic Glazed Chicken.
What can I substitute for honey?
If you don’t have honey or prefer another sweetener, try pure maple syrup or agave nectar. Both will lend the necessary sweetness and caramelization to the cherry balsamic glaze.
Is it possible to use chicken thighs instead?
Yes, boneless, skinless chicken thighs are a flavorful, juicy alternative. Simply adjust the cooking time a bit longer, and keep an eye out for that luscious glaze sticking to every curve.
How do I know when the glaze is the right consistency?
Your glaze is ready when it has thickened enough to coat the back of a spoon and appears glossy. A little patience over medium heat transforms the sauce into the signature finish that makes Cherry Balsamic Glazed Chicken unforgettable.
Can I double or triple the recipe for a crowd?
Of course! This recipe scales up brilliantly for larger gatherings. Just make sure not to overcrowd your pan for even searing, and give the glaze a bit more time to reduce if needed.
Final Thoughts
If you’re craving a dish that brings something truly special to your table, Cherry Balsamic Glazed Chicken is a must-try. Every bite is bursting with vibrant flavor, and the whole process is surprisingly simple and so rewarding. Go ahead—treat yourself and anyone lucky enough to join you at the table!
PrintCherry Balsamic Glazed Chicken Recipe
Savory chicken breasts glazed with a rich cherry-balsamic reduction—sweet, tangy, and perfect for an upscale dinner plate.
- Prep Time: 10 minutes
- Cook Time: 20 minutes
- Total Time: 30 minutes
- Yield: 2 servings 1x
- Category: Main Dish
- Method: Sauté, Simmer
- Cuisine: Modern
- Diet: Gluten Free
Ingredients
Chicken:
- 2 chicken breasts
- Salt and pepper
- 1 tbsp olive oil
Glaze:
- 1 cup pitted cherries
- 2 tbsp balsamic vinegar
- 1 tbsp honey
- 1 clove garlic, minced
Instructions
- Season chicken and sear: Season chicken and sear in skillet with oil until golden (6–7 mins each side). Remove.
- Sauté and simmer: In the same pan, sauté garlic. Add cherries, balsamic, and honey. Simmer until thickened.
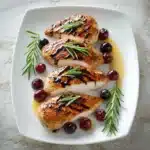
- Coat and serve: Return chicken to the pan and coat with the glaze. Serve glazed chicken on a white plate with reduced sauce drizzled on top.
Nutrition
- Serving Size: 1 serving
- Calories: ~350 kcal
Keywords: #cherrychicken #cherrycoded #glazedmeats #balsamicreduction #elegantdinner #modernplating #whitekitchen #marbleplating #cherryseason #savoryfruit #styledprotein #dinnerinspo #foodphotography #chickenrecipes #finediningstyle #cheffyplate #moderncomfort #sweetandsavory #seasonalcooking #elevatedhomecooking